Best of #theroolife Sept 22-28th
Posted by: Ty Clark
•
Here a few amazing images from our hashtag #theroolife.
Make sure you are tagging your Instagram images so that we can repost them from our page!


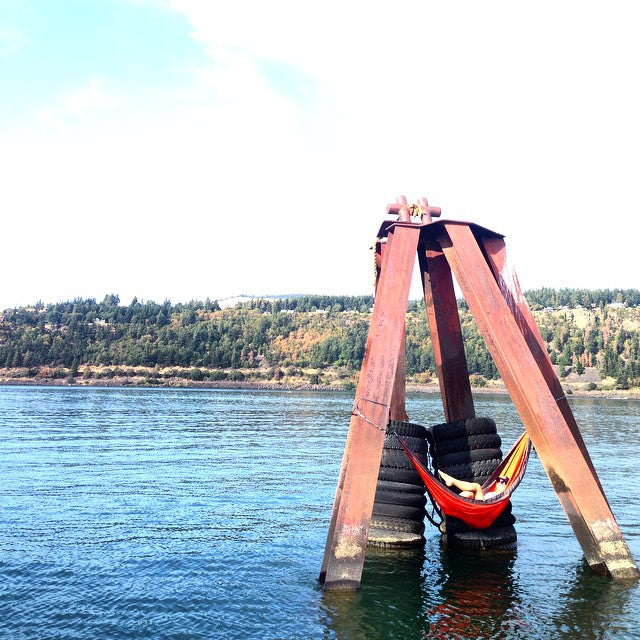

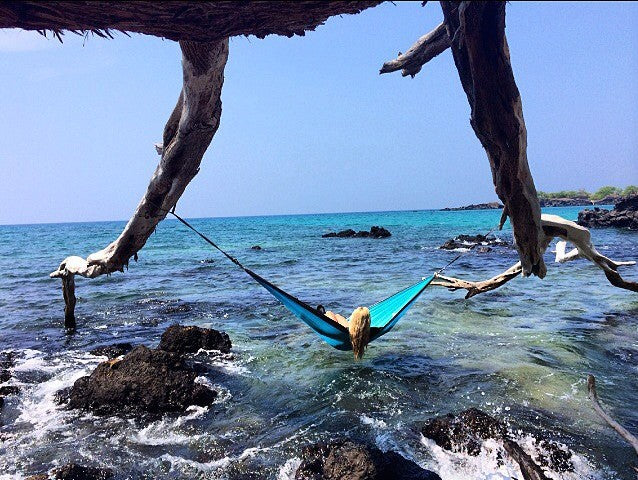

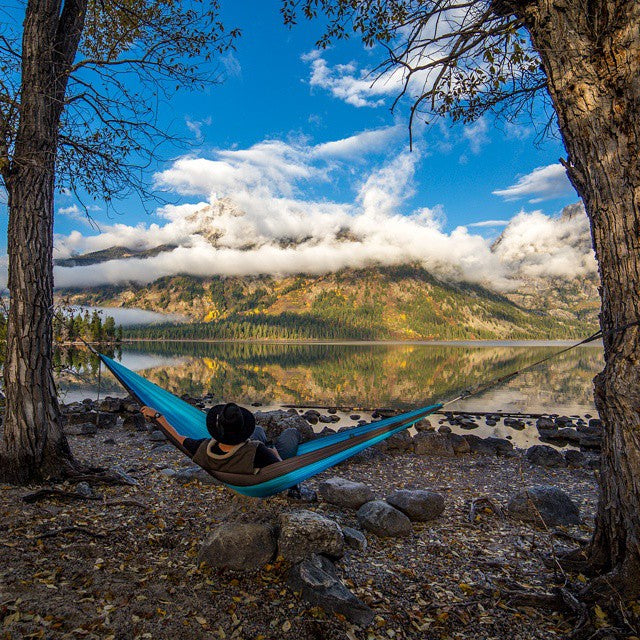
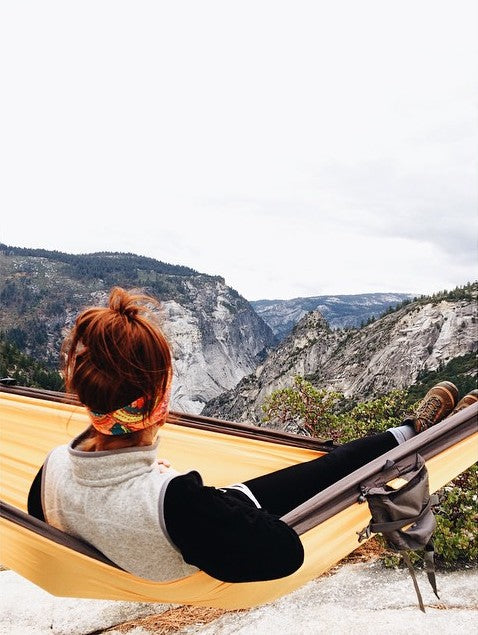

Here a few amazing images from our hashtag #theroolife.
Make sure you are tagging your Instagram images so that we can repost them from our page!

We designed the Ursa Sleep System to be the ultimate sleep however you choose to camp. When camping in the back of your truck or SUV, Ursa and Ursa Minor are unmatched for comfort and versatility. Check out our Vehicle Fit Guide to see what option works best for your vehicle. Learn more about the Ursa Sleep System on Kickstarter. (With the flexibility of our Ursa’s foam, we’ve allowed for a two-inch tolerance for this vehicle fit chart. The check marks with an asterisk* note that the vehicle dimensions are slightly smaller than overall Ursa dimensions.)

Written by Dr. Felicia Wong. Dr. Felicia Wong is a physician, outdoor enthusiast, and wellness blogger based in Southern California. Between her and her husband (also a physician)'s busy work schedules, raising two young sons, and running her popular Instagram account Everyday Adventure Fam and blog on adventure tips, she exemplifies what it means to live intentionally and joyfully with her family. The Wong family can be found hiking, biking, enjoying a day at the beach, or skiing in the nearby mountains on any given weekend. However, one of their favorite activities is camping. In this blog post, Dr. Felicia Wong shares ideas to help you celebrate National Camp At Home Day! Our family loves to camp - at home, close to home, in state and national parks, or off grid. We started glamping as a family 6 years ago, and have gradually worked our way from glamping to car camping, to boondocking and backpacking! One of my favorite things to do, aside from planning our own camping trips, is to encourage more people to give camping a try. National Camp at Home Day - March 27 - is a great time for new campers to do a practice run, and for seasoned campers to test out and inventory gear in preparation for the spring/ summer camping season! To help you get ready for this fun weekend, we have come up with some ways to enhance your camp at home experience: Turn off your electronics and set them aside. Consider turning off your wifi. Unplug. If weather and space permits, consider camping outdoors on your patio or in your yard. If you have one, get cozy around an outdoor firepit with some camp blankets! If camping inside, you can create a nice camp ambience by moving some houseplants around your tent. If you have a fireplace, set up your Swiftlet hammock stand and hammock nearby. Play “camp games” . Our kids love card games like War and Go Fish! When it gets dark out, turn off the lights and use your camp lanterns, flashlights, headlamps. Treat yourself to classic camp treats like s’mores and hot chocolate with mini marshmallows No campfire at home… No worries! Here are 3 methods to make S’mores at home! S’mores on the Stovetop: If you have a gas stovetop, you can roast marshmallows just as you would over a campfire. Put a marshmallow on a skewer and set the stovetop burner on low heat. Use care while slowly turning the marshmallow over the heat to your desired doneness. We recommend this method for adults, as it involves an open flame. S’mores in the Oven: Start by preheating the oven to 400 degrees F. Break the graham crackers into halves, and place half of them on a baking sheet. Top each graham cracker with chocolate, and then a marshmallow. Bake until the marshmallows are puffed and golden brown, about 3 to 5 minutes. Top with the remaining graham cracker halves and press to flatten. If you prefer your marshmallows extra toasty, you can also use the broiler following the same steps, but will need to watch them very closely, because they can burn quickly. Serve immediately while the S’mores are still warm! S’mores in the microwave: Place chocolate and marshmallows on up to four graham cracker halves and put on a microwave-safe plate. Microwave on high for 15 to 20 seconds, or until the marshmallows puff. Top with the remaining graham cracker halves. Learn more about how to participate in this year's National Camp at Home Day here. Happy camping!

Don’t let your hammock collect dust all winter. Here are five tips for staying warm and elevated all winter long: 1. Get out of the wind. One of the biggest favors you can do for yourself when hammock camping in cold weather is to find a campsite with natural wind protection. For example: Instead of camping on the edge of a tree line, walk twenty paces in or so to allow denser foliage to act as a natural wind barrier. The addition of a rainfly hung snug over the top of your hammock can also work wonders on extra gusty evenings, plus a proper rainfly will trap in some of your body heat as it rises to escape. If you’re looking for a complete setup, the Mantis all-in-one hammock tent offers a hammock body, bug net, and rainfly in a convenient, packable stuff sack. 2. Pack an Underquilt Sleeping bags are a must when camping in cold weather, but the pro move for hammock camping is to attach an underquilt beneath your hammock. Since insulated materials need loft to work properly, using a sleeping bag in your hammock makes for less effective insulation because your body is compressing the underside of the bag. Instead, opt for an underquilt that hangs snug to your hammock with maximum loft and effectiveness. Depending on where you camp and the temps you usually experience, we offer three trail quilts with varying temperature ratings. 3. Consider a Sleeping Pad We designed our Insulated Pongo Pad to fit perfectly in your camping hammock and shield you from the bitter cold. Our sleeping pad does double duty, acting both as an insulator and the deliverer of ultimate hammock comfort. Cloud nine, here we come! The Insulated Pongo Pad works great in any season, but you’ll definitely never want to leave home without it when the weather turns south. 4. Add Warmth With a Top Quilt Now that you have a wind-free spot, a cozy underquilt, and the comfiest sleeping pad in the woods, it’s time to lie down for a toasty snooze under the stars. But what about your top quilt? Both our Mountain and Field Blankets make great basecamp options, each offering snaps along the edge that allow complete integration with your Roo hammock. For packing light and heading into the backcountry, our lighter and more packable trail quilts offer a huge advantage. However, depending on the weather, your underquilt might be cozy enough of a cocoon that all you need are your base layers to stay warm. 5. Final Tips Here’s a sneaky tip that lots of cold weather campers know well: Boil water over your stove before bed, fill up a Nalgene, and slip it in your hammock to warm the top quilt and underquilt. If you have an extra sock or two, slip them over your water bottle and leave it at your feet. This way you stay warm, but the bottle doesn’t burn your skin. If you’re not wearing your jacket to sleep, keep it at your feet as well so it’s warm when you’re ready to wear it in the morning. Lastly, test your setup before setting off in extreme conditions and know your limits. Everyone has different sleep preferences, so there’s no one-size-fits-all solution when it comes to hammock camping in cold weather. The better you know your gear and your sleeping preferences, the more you’ll be prepared when those ultra-cold temps hit. And of course, if you ever feel uncertain with extreme temperatures in the forecast, be safe and maybe plan for a night indoors.

If you spend time outside, whether you’re hiking, camping, climbing, or mountain biking, chances are you frequent public lands. Luckily, through national parks and forests, state parks, and local trails, adventurers have the ability to explore everything from alpine habitats to deep canyons and everything in between. More and more people are getting outside and visiting parks at record levels, which is why it’s important for all of us to become good stewards of the ecosystems entrusted into our care. The following Leave No Trace principles are key to maintaining pristine wildlife in our parks, and they basically all boil down to one unifying point: Leave it like you found it. 1. Plan Ahead and Prepare This isn’t just a good idea to make the most of your camping trip—it’s also an essential aspect of Leave No Trace. When visiting national parks, become familiar with the “Plan Your Visit” tab on a park’s page. Each park is different, with special concerns and regulations that you should be aware of. Planning ahead also means reducing your footprint by visiting parks in smaller groups when possible and avoiding times of high use. Do your part today by becoming familiar with parks you frequent often or plan to in the near future. Here’s an example of a regulations page from one of our personal favorites: Arches National Park. 2. Travel and Camp on Durable Surfaces The National Park Service has spent many years developing trail systems and campsites for our enjoyment. However, the purpose is not simply to give us access to wild places. By sticking to designated trails, visitors make less impact on the park and prevent degradation from erosion. The same principles can be applied to campsites as well. When you pack up in the morning, your campsite should essentially be unchanged. The best way to ensure this is by utilizing campsites already designated by the parks. In the backcountry, stick to marked campsites or other durable surfaces like rock, gravel, sand, dry grasses, or snow. You can also protect riparian areas by camping 75 steps away from lakes and streams. If you’re curious, you can also check out these two articles from the NPS about the history and current management principles of trail making. 3. Dispose of Waste Properly We’ve all seen the signs: Pack it in, pack it out. Comma splice or not, these words should be at the forefront of every visitor’s mind when exploring public lands. Even with the glaring signs at every trailhead, you’re almost certain to find trash from someone who came before you. We could write an entire article on this single principle, but here are a few basic tips to keep in mind. When packing food for your trip, dispose of any unnecessary trash ahead of time: Think produce stickers and packages within packages. For example, if you’re bringing cereal on the trip, consider recycling the box ahead of time and only bringing the bag. Meal prepping ahead of time can also be a great way to lighten your load and reduce the amount of waste in camp. In the backcountry, utilize freezer baggies to group meals and act as a waste receptacle to be disposed of properly when back at park headquarters. And remember, pack it out means pack it all out, including orange peels and pet waste. Utilize toilet facilities when possible—park maps do a great job of pointing you in the direction of a bathroom. When making overnight trips away from facilities, packing a bathroom kit is essential. A simple kit includes toilet paper, wet wipes, hand sanitizer, and a small spade. You should also bring a separate baggie for the disposal of paper products. For solid waste, dig your cathole 6-8 inches deep and 75 steps away from water, campsites, and trails. Cover and disguise the cathole with the removed dirt when finished. Lastly, to wash dishes or yourself, carry water 75 steps away from any water source and use only small amounts of biodegradable soap if necessary. Scatter any strained dishwater. Consider using body wipes for personal hygiene. These are easy to dispose of and can be purchased from most outdoor retailers. 4. Leave What You Find This one is pretty simple. Imagine you’re a kid and your parents have dragged you into yet another antique store. “Don’t touch anything!” A pine tree certainly isn’t as fragile as fine China, but that doesn’t mean we should be carving our initials into one. Leave rocks, plants, and other natural items where they are—these aren’t souvenirs for you to bring home. The whole purpose of this principle, and every principle for that matter, is to leave parks in their natural state for other visitors to enjoy. Not to mention we want to preserve these ecosystems so that plants and wildlife can continue to thrive. 5. Minimize Campfire Impacts We’ve all seen in the news how damaging fire can be, which is why this principle is extremely important. Follow fire regulations at any given park, and simply don’t build a fire when and where it isn’t allowed. This goes back to planning ahead as well: If you think you’re going to find yourself in a situation where you need added warmth, pack the appropriate insulation. Bring along a small stove as well for any meals in the backcountry. Where fires are permitted, use park fire rings, portable fire pans, or mound fires. Always keep fires small and only use down and dead wood that can easily be broken by hand. When you’re done with the fire, let the coals burn to ash, put the fire out completely, and then scatter the ashes. Your goal is to remove any indication that a fire has ever been made. 6. Respect Wildlife Animals in parks are truly wild and should be treated as such. It seems like every year there’s a new video of someone approaching a bison in Yellowstone to get a closer look—a situation that never ends well. Beyond your own safety, respecting wildlife means helping them stay wild. That means never feeding animals, either purposefully or accidentally by leaving food lying around. Feeding wild animals can alter natural behaviors in ways that are damaging to the ecosystem. Store food items securely, dispose of trash properly, and use bear boxes where offered. All of these measures will help prevent wildlife from taking a liking to your trail snacks. 7. Be Considerate of Other Visitors Finally, be nice to everyone in the park. Just as you should leave parks in pristine shape for future visitors, you should also respect the ones who happen to be there at the same time as you. Yield to other hikers on the trail, step on the downhill side of the trail when encountering pack animals, and consider the fact that not everyone loves loud music. Public parks are for everyone. By following these simple guidelines, you’ll allow others and yourself to enjoy the outdoors in a way that benefits both you and the landscapes you visit. One final note on the Leave No Trace principles—our eighth rule if you will. Leave it better than you found it. This isn’t our attempt to implore you to beautify the landscape by planting flowers (please don’t do that). Instead, we encourage you to bring an extra trash bag along when hiking and camping. Even in pristine national parks, you’re bound to find litter left behind by visitors. You may feel like you’re not even making a dent in some of your park cleanup efforts, but every piece of trash picked up helps. If we’re going to be good stewards of the land we get to enjoy, we might as well go above and beyond the call of handling our own mess. You may even be surprised to find how addicting it can be to pick up other people’s empty beer cans. This year on National Camp at Home Day, we encourage everyone to start practicing these Leave No Trace principles. Go for a hike on your favorite local trail and pack out the litter you find along the way. When cooking your camp meal, take into account how much waste you’re creating and come up with a plan for packing it out in a backcountry setting. If you have kids around the campfire, teach them the importance of the seven Leave No Trace principles so they’re ready to hit the trail with you. We can all make a positive impact by thoroughly learning these principles and implementing them when the time comes.
