10 Best Photos From #THEROOLIFE In The Last Month!
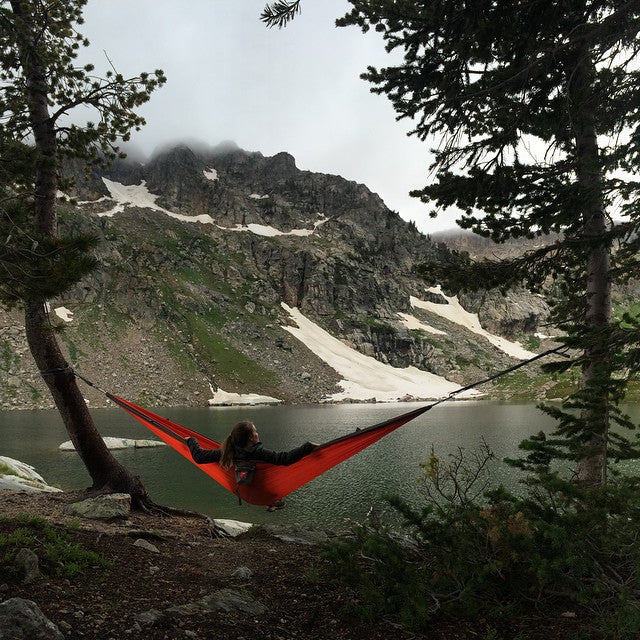
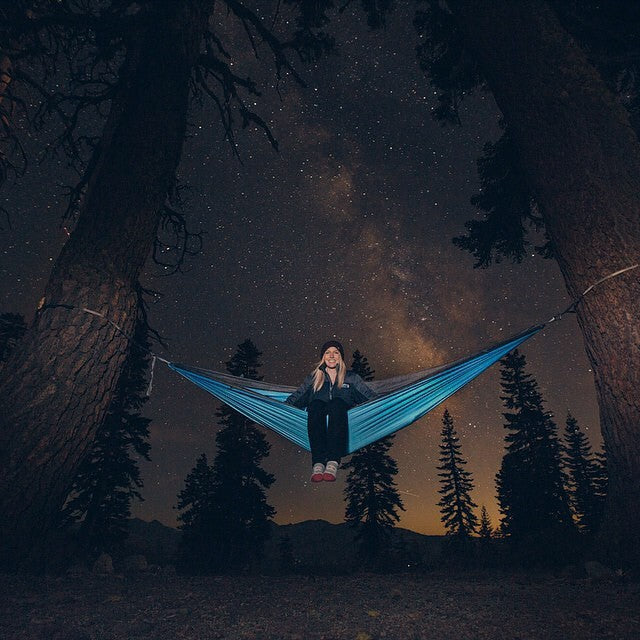
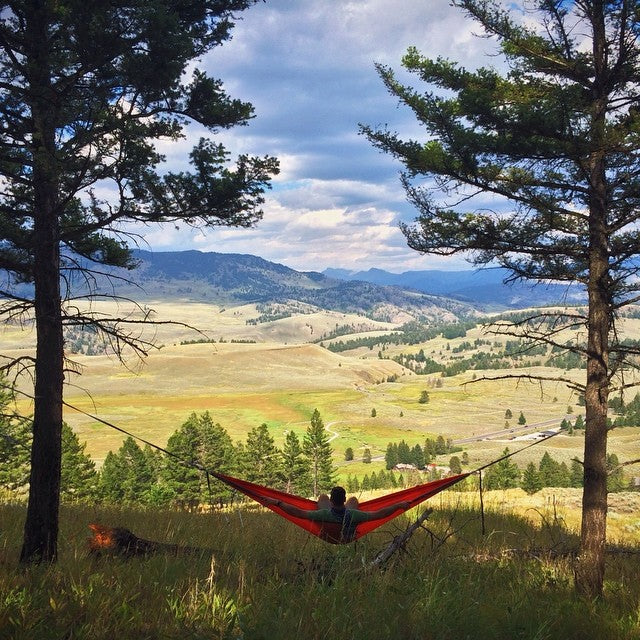
If you are not posting to #theroolife on Instagram, here is what you are missing! The Kammok MOB has been going off lately with some insane photographs. Here are some of our favorites!


If you are not posting to #theroolife on Instagram, here is what you are missing! The Kammok MOB has been going off lately with some insane photographs. Here are some of our favorites!


Once you’ve picked out which Kammok hammock style works best for you and your favorite color (we think that’s the hardest part), it’s time to learn how to hang and care for it. We’ve compiled a guide for all your hammock care needs that can be applied to any Kammok hammock type (Roo Single, Roo Double, Roo Jr., Roo Double XL, and Roo Single UL) How to Set Up Your Hammock Applies to all Kammok hammock types excluding the Roo Single UL. Find two points to hang your hammock between. Each hammock size calls for a slightly wider or narrower set up, however the standard to look out for is 12-15 feet. Grab your hammock straps. Wrap the widest part of the strap around the tree or post. Pull the strap through the end with the single loop. Ensure to loop your straps around the tree about 6 ft high. Unbuckle the rolled up top from your Roo hammock and pull out the fabric. Clip the hammock carabiner through one of the Python strap loops and repeat this step on the other side. Tip: Clip the strap bag onto hammock carabiner for safe keeping. For a safety check, press into the center of the hammock to test before sitting down. Adjust your hammock as needed to rest at a 30 degree angle and try out the other ways of hanging below. How to Hang In Your Hammock Applies to all camping hammock types. Who said hammocks are only for laying down? There’re so many ways to hang in your favorite Kammok hammock depending on where you are and who you’re with. Here are a few of our favorite ways to hang. The Chair - Perfect for talking in a group, watching the sunset or hanging around a campfire. An easy way to sit upright and relax with legs hanging over the hammock or cross legged. The Lounge - Our favorite way to nap, relax and look up at the sky on a starry night. Lay diagonally, spreading the hammock fabric for space and comfort. This one is great for cuddling with your adventure dog (or human). The Perch- A good way to hang while reading a book or hanging with a buddy in a Roo Double or Double XL. Scoot to one end of your hammock and sit upright while keeping your legs straight. How to Pack Your Hammock Applies to all camping hammock types. When you’re done using your hammock for the day, it’s important to pack it after each use to protect the fabric from long-term exposure to the elements. To do this, unclip one side of the hammock and pack it into the stuff sack, one side at a time. Then, unclip the second side of the hammock. We recommend keeping the carabiners on the top. Roll the stuff sack twice and and buckle the sides. Roll up each Python strap and place them back into the stuff sack. How to Wash Your Hammock Applies to all Kammok hammock types excluding the Roo Single UL. Hand wash Roo Single UL only. If your hammock is soiled or stained from all your epic adventures, we recommend hand washing when possible. However, avoid washing your hammock frequently since this will deteriorate the DWR coating and lessen durability of the fabric over time. If using a washing machine is necessary, make sure to use one without a center agitator as this can tear up the fabric. Remove the carabiners and slings prior to washing. Place the hammock fabric in the washing machine. Fill the Grangers Down Wash + Repel cap to the recommended level. A gentle powder detergent will work as well. Do not use fabric softener, bleach, or stain removal products. Wash the hammock fabric by itself on a gentle, cold-water setting. Hang dry in a warm and non-humid environment until the fabric is no longer damp. Once the fabric is completely dried out, attach the slings and carabiners to the ends. You can use an unopened pen to help thread the sling back through the hammock fabric. Your hammock is clean and ready for more time outside. These tips and guidelines will help you make the most of your Kammok hammock. Make sure to check out our Help Center FAQ for all of your product use and care questions.
Whether you’re new to day-hiking or just need a little validation for not embodying The Outdoor Fantasy, I’m here to help you out! I only started hiking about 9 years ago, and every time I looked up information about trails, gear, clothing, etc., I would become so overwhelmed. Inaccessible information can be a barrier to many people getting started. How-tos make it sound like you will encounter danger, or that you have to buy up half of an outdoor retailer to get started––you don’t. It is very likely that you already have all you need. That isn’t to say you shouldn’t do research and take preparation seriously––you should. But don’t let preparation overwhelm you and keep you from getting that precious nature healing. Let’s break things down. Language Hike - Intentional movement outside on trail. Speed and distance are up to you! Outdoor media makes hiking look like it has to be remote and rugged, and it can be if you want it to be, but you define your hike. Elevation - The amount of vertical distance you gain (going up) or lose (going down) on trail from start to end. Example: a 3-mile trail with an elevation gain of 500 feet means that over the course of 3 miles, you will ascend a total of 500 feet. The 500 feet could be all in one go, or it could be a steady progression over the entire hike. Round trip - The total mileage of your hike. Out-and-back - You’ll hike to a turnaround point (halfway point) and hike out on the same route. If a trail is listed as 4 miles, it means you’ll hike 2 miles in and then 2 miles out. Point-to-point - The distance in and out. If a trail is listed as 10 miles, it will be 10 miles from one end to the other. These kinds of trails are often done as a caravan, meaning you and your buddies bring 2 cars and park one at each end so that you hike the entire trail only once. Can also be done as an out and back, but it doubles the mileage. Loop - The start and end point are the same, but you don’t (or rarely) repeat the same section of trail, as if walking around something. Loops are often favored because there’s always something new to see around the bend. Day hike - A hike you complete in one day. Distance, terrain, elevation are up to you. Multi-day hike or backpacking - Hiking with an entire camp set-up and supplies for multiple days on trail as opposed to heading home after. Picking a trail Start with trails close to home. They’re often better maintained and more likely to have bathrooms nearby if you’re not quite ready to go outside or have accessibility needs. Trails nearer to towns and cities will be more well-documented in books, online, or in hiking apps and they’ll be less remote, meaning you likely won’t be all alone in the wild. Also, depending on where you are, you’ll probably have cell reception. You’ll find out quickly it’s elevation, more so than distance, you want to be most aware of. Just because you see that something is under 3 miles doesn’t mean it will be easy! Start with a low elevation gain, something under 500 feet, and shorter distances, 3 miles or less. You need to find out what your body likes rather than picking the most Instagrammed, gasp-worthy trail right off the bat. Listening to your body This isn’t addressed in hiking guides, and neither is accurate details about terrain. The writer always assumes the person reading is fully able-bodied and part mountain goat. Not knowing where your body is at in terms of its ability, strength, and endurance could become a safety issue on the wrong trail. That’s why we start out low and slow, baby. Terms like easy, moderate, and difficult are relative. What’s difficult for me might be easy for someone else. Be aware of how you use these terms when speaking to others too. Be considerate of our innate body diversity because it’s the cool thing to do. Love your body, love your hike. Take breaks. As many as your body tells you to, and push yourself only in ways that feel productive. Be Nice to Yourself. Don’t let the inner critic and diet culture kill your vibe. Instead of fretting about goals, speed, how you look, or what you “should” be able to tackle, think about how awesome it is that you’re HIKING. The rest is noise. You can turn around whenever you want. Unless you’re on the last half of a loop—then turning around would suck. You know what I mean. Breathe. Often when our breath quickens, becomes short, and our hearts beat harder, it signals panic to our brains. Breathe with intention, slow your pace, tell your brain you are safe. EAT! DRINK! Bring more water and snacks than you think you’ll need. It is very common to discover that a trail is way more challenging than it looks in print, and often when our bodies are working hard, physical needs don’t register as quickly as they normally do. Keep yourself hydrated and blood sugar steady to avoid cramping, lethargy, and big baby tantrums. Snack bars, dried fruit, nuts, and jerky are easy, nourishing snacks that make the body happy. Carry at least two liters of water for even the shortest trail, and have extra water and snacks in your car for your return. Trekking poles can take a lot of pressure off of joints and feet, especially when backpacking. They greatly assist with ascents, descents, and balance, and they can be nice to lean on when you’re tired as heck. Clothing Wear clothing that feels good to move in. Breathable, moisture-wicking athletic wear that fits your body correctly. Maybe you already have spandex leggings, tank tops, and a windbreaker in your closet. Carry a jacket too, the lighter weight the better, but bring what you’ve got. Avoid cotton—it retains sweat which can get cold and uncomfortable and cause chafing. You can acquire actual hiking clothing if you desire to along the way. A good pair of hiking pants can be a game changer, but they aren’t necessary. If you wear plus-sizes, I’ve got your back. You don’t have to buy a pair of hiking boots right away, and many hikers will tell you you don’t need to at all. Average athletic sneakers are usually fine. Personally, I swear by hiking boots. My big body likes the ankle support, and a thicker, more durable foot bed feels better on rough, rocky terrain. Like a lot of outdoor gear, a good pair of boots is expensive, but they are an investment in your overall experience and will likely help you avoid other pains. Gear + packing list Hiking book, or downloaded map and/or print out of trail map. Two forms of directions is best practice. Trekking poles Park passes, or small bills for bridge crossings and parking Wallet Day pack/backpack Hanky/sweat rag Pocket knife Tiniest first aid kit (you can probably make this from things at home) Tiniest survival kit (can often be bought in one small inexpensive kit, includes compass, matches/lighter, whistle, emergency thermal blanket, etc.) Sunglasses Spare pair of eye contacts or glasses Phone (fully charged, all apps closed, room for photos) 96oz. water bladder (and LifeStraw as a backup water filter) Snacks (jerky, nuts, dried fruit, fresh fruits, and vegetables) Headlamp (for the many times it takes longer than you thought it would) Chapstick Eye drops Bodyglide or some anti-chafe aid if you’re prone Ibuprofen Tiniest insect repellent Sunscreen BATHROOM KIT: pee rag (stand-to-pee device like a pStyle, a hanky or Kula Cloth to be used instead of toilet paper when peeing), toilet paper (for #2 only, pack it out in ziplock!), small trowel Safety Being prepared is being empowered, and on some trails, it is imperative to know what to do in a wildlife encounter, though they are rare. Also rare: being attacked by creeps. It is also true that something like this is less likely to happen on trail than it would in your daily life. Comforting, right? Nah. Whether you’re hiking alone or with others, let a point of contact know where you are going, when you are going to start, and a rough idea of when you’ll be done. Notify them when you are safely on your way home. Consider bringing a hiking buddy or joining a local hiking group. Meetup is a great way to find the right group for you. Also search social media. There are now many affinity hiking groups for BIPOC, LGBTQIA+, plus-size, and disabled hikers. Carry: pocket knife, pepper spray (if that feels good to you), bear spray if you’re hiking in an area known for them, and trekking poles to make noise or whack creeps (again, highly unlikely). Your homework before you go: Leave No Trace The 10 Essentials Carry a dry bag for trash—leave the trail better than you found it. Going to the bathroom outside Wildlife Safety Tips Trail etiquette is good to know, especially when it comes to multi-use trails (hikers, bikers, horses), but be discerning. It is generally written in a way that implies there is only one “right” way to enjoy the outdoors and from the perspective of someone who has an innate sense of access to nature. Many people do not feel that innate sense of access. Trail etiquette is often used to shame folks who don’t already know it. Be compassionate, share information, assume best intentions, and don’t self-deputize yourself as the freaking king of the forest. Respect the trail, respect other hikers.
While all our gear is made to last, the thin mesh fabric of insect netting may get tears from being out in the elements, being stored next to sharp objects or accidents that are bound to happen while spending time outside. We prefer using patches to fix small holes in mesh fabric. This is something you can do at home to extend the life of your gear. If the insect netting on your Kammok gear has large tears or seems irreparable, remember Kammok gear has a lifetime warranty. To repair holes in your Dragonfly, Mantis or Sunda insect netting, we recommend using the Gear Aid Mesh Patches for a quick fix. Here’re step-by-step instructions on repairing your bug netting. Step 1: Lay your ripped mesh fabric onto a flat surface. Step 2: Open your Gear Aid Mesh Patches and peel one of the patches. Step 3: Center the patch over the damaged area and press firmly for about 30 seconds to apply the first patch. Step 4: Flip the mesh fabric over and peel the second Gear Aid Mesh Patch. Step 5: Repeat the process on the other side. Lay the second patch evenly on top of the first one and press firmly for about 30 seconds to apply. Give is a good rub to make sure the patch is firmly applied. You’re all set! The mesh fabric is now ready for the next time you want to spend time outside.
This year for National Camp at Home Day, Alisha McDarris from sustainable travel and adventure blog Terradrift offers tips to help you level up your sustainability game and reduce waste at the campsite and beyond. So you can stay classy, not trashy. Start with proper preparation If you want to reduce waste on your next outing—whether it’s in your backyard or across the country—if you wait until you get to camp to make your move, you’ve already lost. Successful low- or no-waste camping starts with solid preparation. Skip the pre-packaged meals and bars This is a tough one, especially because pre-packaged, store-bought backpacking meals are just so easy, but the packaging they come in is usually single-use and not recyclable or compostable. So for every freeze-dried meal you snag off of store shelves, commit to making one yourself. It’s about doing what you can, not achieving zero-waste perfection. Use ingredients you already have around the house like noodles, instant rice, or spices and combine them with your favorite protein sources like instant dried beans or, my favorite, textured vegetable protein. Blend together ingredients like oats, dates, nut butters, protein powder, seeds and dried fruit to make your own snack and protein bars. Prepare your own fruit leather and jerky in the oven. Get creative! And after a few experimental recipes, we bet you’ll be way more pleased with the flavor results than with those bland pre-made meals. And if you need a few idea to get you started, I wrote a whole cookbook of plant-based recipes, which you can find here. Buy in bulk If you’ll be making your own meals and snacks, call on your local grocery store’s bulk bin. Usually, you can bring a reusable container (for even less waste) to fill with items like instant potatoes or beans, hummus or textured vegetable protein, nuts and dried fruit, even spices and energy bites, all without an ounce of extraneous packaging. If your local grocery doesn’t have a bulk bin section, then buy larger packages of items like rice or trail mix, freeze-dried vegetables or fruit instead of single-serve sizes in order to reduce waste. Utilize reusable packaging Zip-top bags are convenient, no doubt, but in most cases, they are single-use items that don’t get recycled (though you can usually recycle clean zip-top bags at your local grocery store’s bag recycling bin). So opt out of single-use whenever possible. Snacks, meal ingredients and more can be stored in reusable silicone zip-top bags, plastic storage containers, or food wraps that can be washed and reused many times. Opt for snacks in sustainable packaging We can’t make all of our own snacks all the time. Take nuts, dried fruit, and seeds for example. Fortunately, you can still get waste-free snacks by purchasing from brands that use compostable or biodegradable packaging. Shar, for example, offers trail mix in refillable, recyclable, and compostable cardboard tubes while Sun and Swell packages their snacks, nuts and dried fruit in compostable bags, including single-serves! Reduce waste at camp Prepping is at least half the battle if you want to enjoy to a low-waste camping trip. But it doesn’t stop there; keep the good vibes rolling (and the trash bags empty) once you arrive. Ditch disposables Save the paper plates for your kid’s pizza party and commit to using reusable plates, utensils and cups when camping. There are plenty of quality and durable mess kits out there and they’re easy to wash and reuse at camp. Plus, they don’t create bags full of trash at the end of every meal. But don’t stop there: swap straws, napkins, and paper towels for reusable and washable items, too. Skip single use bottles Instead of bringing along a case of single-use plastic water bottles or even gallon jugs of water, bring a refillable container with a spout or nozzle like a water cube for storing and serving up H2O. Use a refillable gas tank You know those little green bottles that fuel your camp stove? Millions end up in landfills every year because they can’t be easily recycled. Upgrade to a small, refillable cylinder like one from Ignik to drastically reduce waste when camping. Repurpose your water bottle Skip the wasteful bags of ice (for at least as long as you can) on your next camping trip and use reusable ice packs or make one of your own: The night before you leave, fill your Nalgene or other hard plastic water bottle 3/4 full and stash it in the freezer. In the morning, you’ll have a multipurpose DIY ice pack that also functions as a water bottle as the ice melts. You can even refill the bottle with ice from a beverage dispenser when repacking your cooler on the go. Utilize refillable and compostable toiletries If you’re camping at home, this won’t likely be an issue, but if you’re spending more than a day or two farther afield, you might plan to wash up a few times (dishes or yourself). If that’s the case, avoid purchasing travel-size toiletries and soaps and instead utilize reusable and refillable containers and tubes to hold soap, shampoo and more. Also important: Make sure they are biodegradable for the least amount of impact to the natural spaces around you. Bottom Line There’s plenty you can do if you’re looking to reduce your waste while camping. All it takes is a bit of planning and preparation, a willingness to try something new, and a touch of creativity and you’re well on your way to producing less waste and enjoying more environmentally-friendly outings. Wander on!